Uh... What! Already!? But how?
How are we already in October? Seems like it was yesterday that I went on vacation and prepared school supplies for my little one.
A few days ago, I was walking with him, and he pointed out Halloween decorations hanging on a balcony of an apartment building. He asked me why they were there, and I answered, puzzled: I really don't know. In my mind, these people had to be a little too excited to have them there so early.
I only realized that we started being in October when recently, I received an email about pumpkin recipe suggestions... listen to that: for Canadian Thanksgiving and Halloween! I'm not even done enjoying peaches and they're already talking to me about Cinderella's carriage?
And what about the apples in all of that? Where are the apple recipes? OMG! (with my hand on my mouth.)
I didn't even prepare any! I didn't even go apple picking!!! And Thanksgiving... but it's this weekend! Quick! Quick! I have to prepare something.
And all of a sudden, I remembered a beautiful recipe from last year that I never published because it so happened that time flew like a thousand mile an hour.
But I'm showing it to you now so that it doesn't slip out of my fingers, again.
Bonked on the Head by Apples
That's what happened to me when I realized we were in October. The beautiful and good times in Montreal must've completely delighted me.
The thing is, people are still walking in shorts and the leaves have yet to turn red. But when I really think about it, some people around me have been hit with coughs and other winter diseases. Mmmh... I should've suspected something was wrong.
I usually don't miss an opportunity to go apple picking and even take pictures — which I just don't publish because of lack of time or forgetfulness. But today, I'm going to release this recipe from my archives. And heck! If I'm going to do that, I might as well release for all my early photos as an aspiring food photographer.
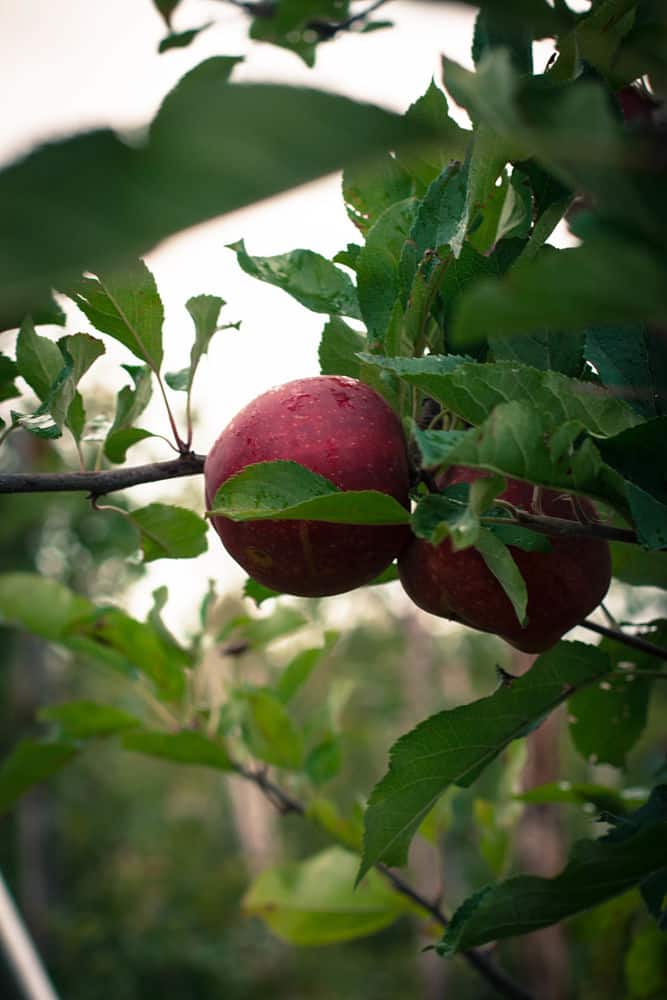
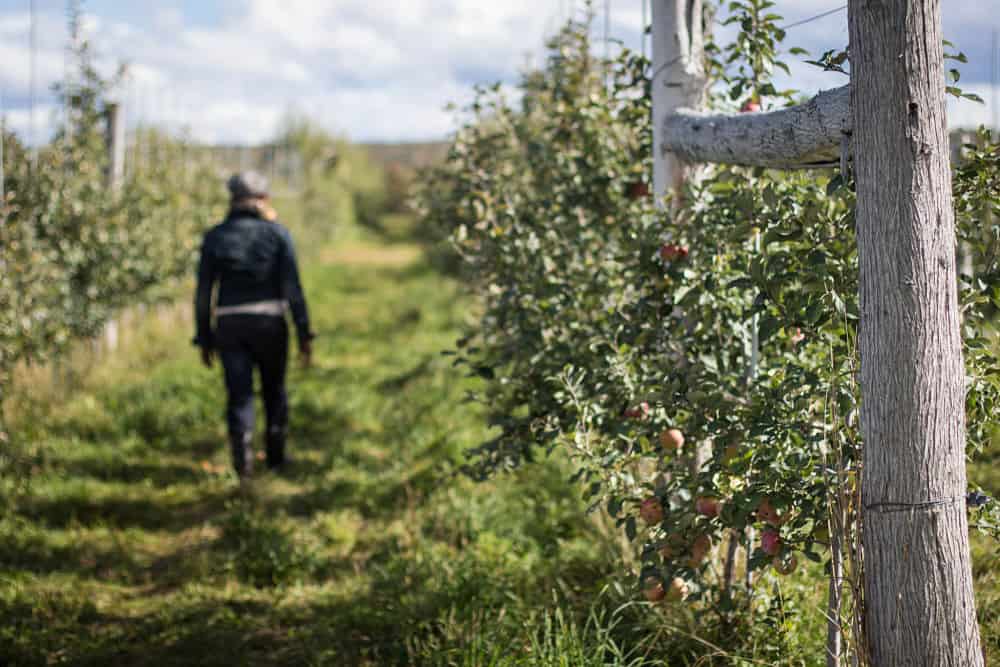
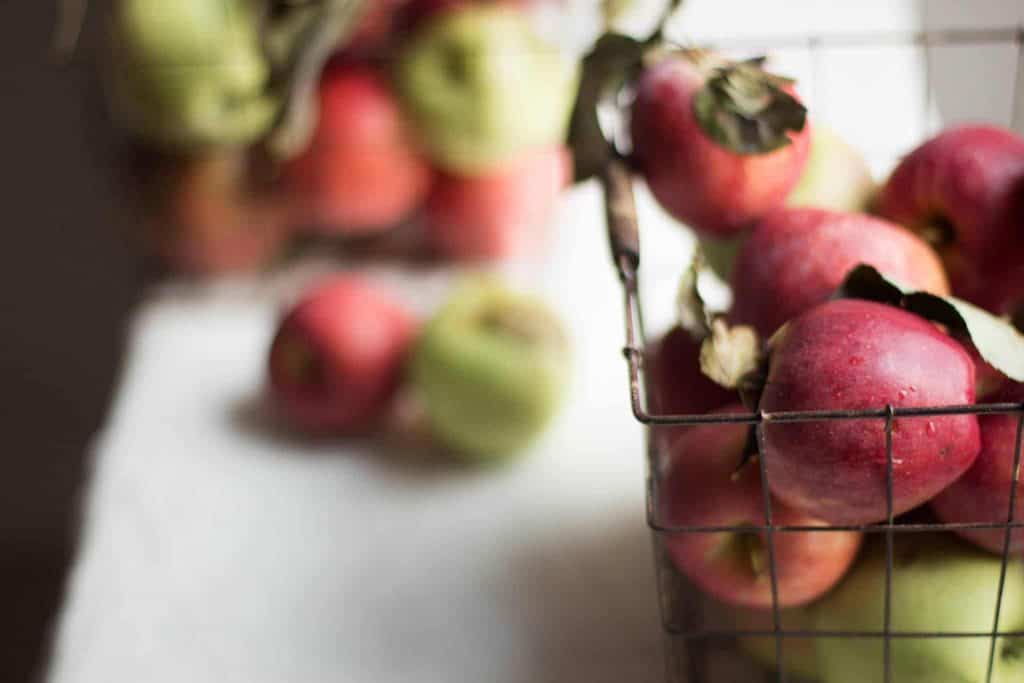
Aaaaah! I feel much lighter now that I've shown them to you. All this wasn't a waste of time after all.
Normally, after a good day in the orchard and bringing back four to six big bags of apples, I put some on the counter and some in the fridge to keep them longer.
And I put the others in my apple pie.
A Fake Baked Apple Pie
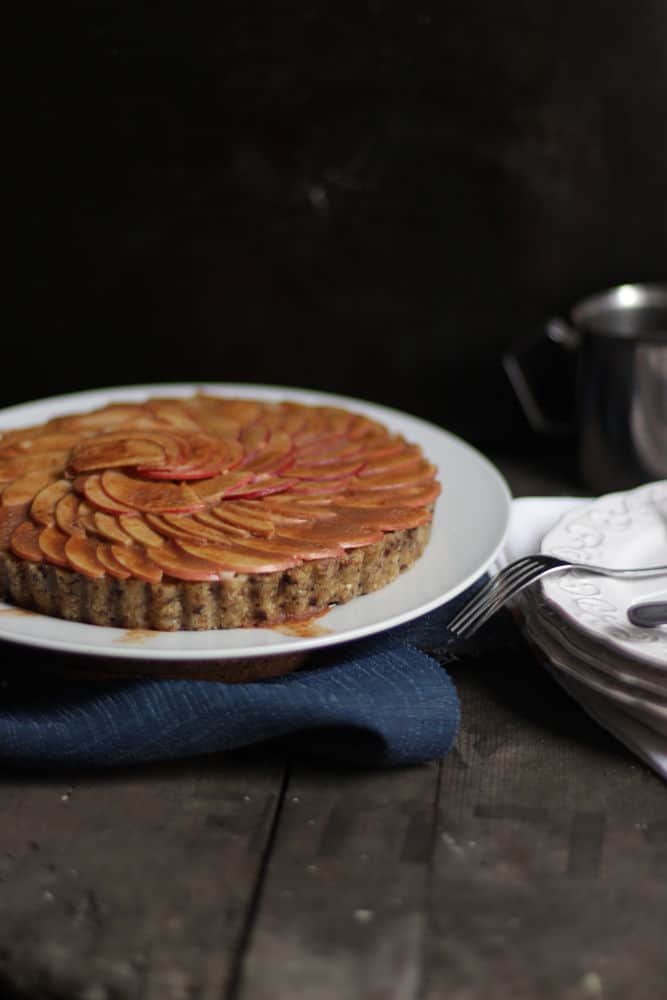
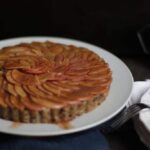
This is the raw version of the traditional apple pie. You have to make this pie in three steps: the crust, the garnish, and the rosette. Oh! In fact, there's one last step: the icing. This is what will give the baked pie appearance.
Yes, a completely fake baked apple pie. And it's very easy to do.
The crust is primarily made with walnuts and almonds. I usually use dates as a binder — to hold the crust together — but this time I used raisins to give a Graham cookie and caramelized taste. My filling is simply a banana-apple purée to make your life easier. Why do I say that?
Because you could also do something more sophisticated by using a mandolin to make thin apple slices, then filling the pie from bottom to top. But this would take more time.
If that's what you'd prefer, choose Fuji or Gala apples. They hold much better. Also, for the filling, I used the food processor rather than the blender to give the purée a little texture.
If you don't like the taste of bananas, you can use only apples or an apple-pear mixture to make a kind of apple-pear sauce.
Finally, the frosting idea is to give a cooked appearance. But it's also to "cover up" the natural browning (oxidation) of apples, which is not very appetizing. But this tangy and spicy frosting sure is and it's delicious too. You'll know what I'm talking about when you read the list of ingredients.
And psst! For a decadent effect, you can add whipped coconut cream over it.
No-Bake Cinnamon Apple Pie
If you try this recipe, I want to know about it! I always appreciate your feedback. Leave a star rating in the recipe card right below and/or a review in the comment section further down the page. You can also follow me on Pinterest, Facebook, or Instagram. Sign up for my email list, too!
No-Bake Apple Pie
Ingredients
Crust
- 1 cup almonds preferably soaked and dehydrated
- 1 cup walnuts preferably soaked and dehydrated
- 1 cup raisins Thompson
- 1 teaspoon vanilla extract
- 2 apples sections removed and cut into pieces
- 1 banana
- 2 dates pitted
- ½ teaspoon ground cinnamon
Cinnamon Icing
- 2 tablespoons coconut oil warmed to the liquid state
- 4 teaspoons coconut sugar preferably reduced to powder in a mill (Note)
- ½ tablespoon lemon juice
- ½ tablespoon ground cinnamon
Instructions
- To make the crust, place almonds, walnuts in a food processor fitted with the "S" blade and process until the mixture looks like coarse breadcrumbs. Add the raisins and place them evenly over the mixture, then add the vanilla. Process until the mixture simply sticks together. Transfer the mixture to a 9-inch (23 cm) deep-hinge mold, spread it out and squeeze it with your fingers or a spatula (if it's too sticky).
- To make the garnish, put in the food processor fitted with the blade in "S", apples, banana, dates, and cinnamon.
- To make the icing, whisk together the liquid coconut oil, coconut powder sugar, lemon juice and cinnamon to form a smooth paste. With a brush, coat the top of the apples.
- Placed in an airtight container in the refrigerator, this No-Bake Apple pie will keep for a week.
Notes
Variant
For the option of filling the pie with the whole apple slices, use 6 apples and double the amount of icing indicated above to coat some apples in the middle as well.Nutrition
Get Your Free Plant-Based Eating Toolkit and More
Subscribe to my newsletter and unlock my plant-based course, nutrition charts, recipe secrets, and exclusive updates to prepare wholesome, varied & balanced meals effortlessly. All you need is a good appetite. Subscribe!



Leave a Reply